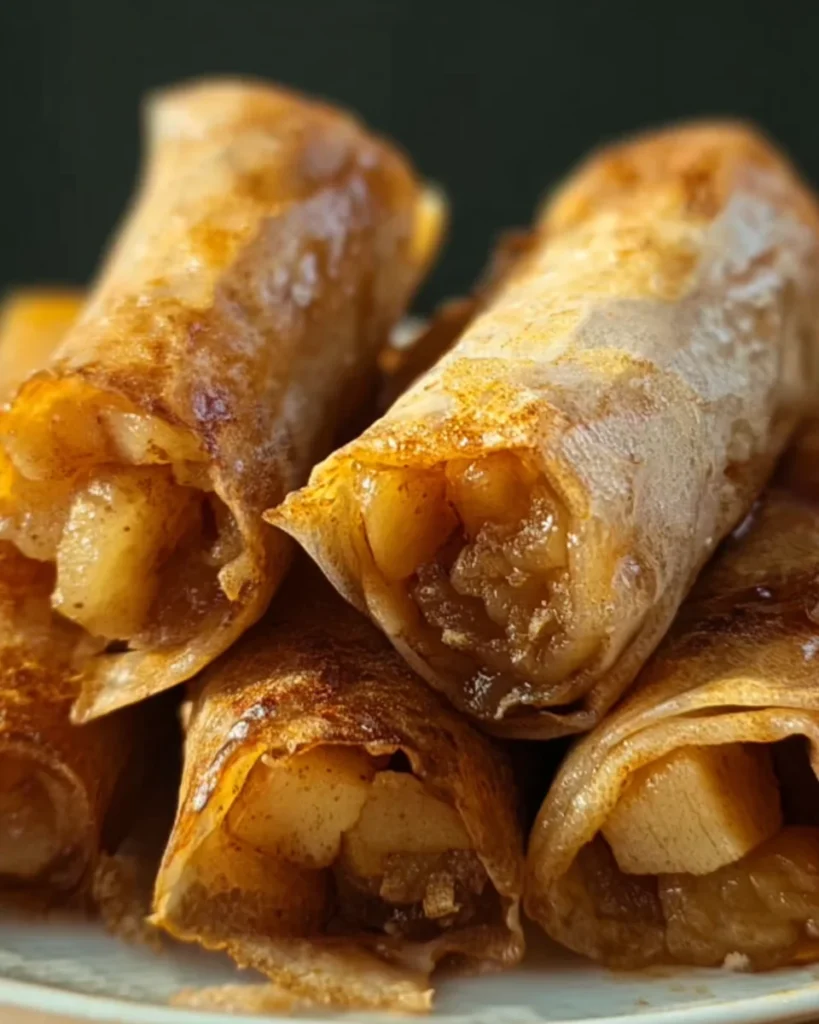
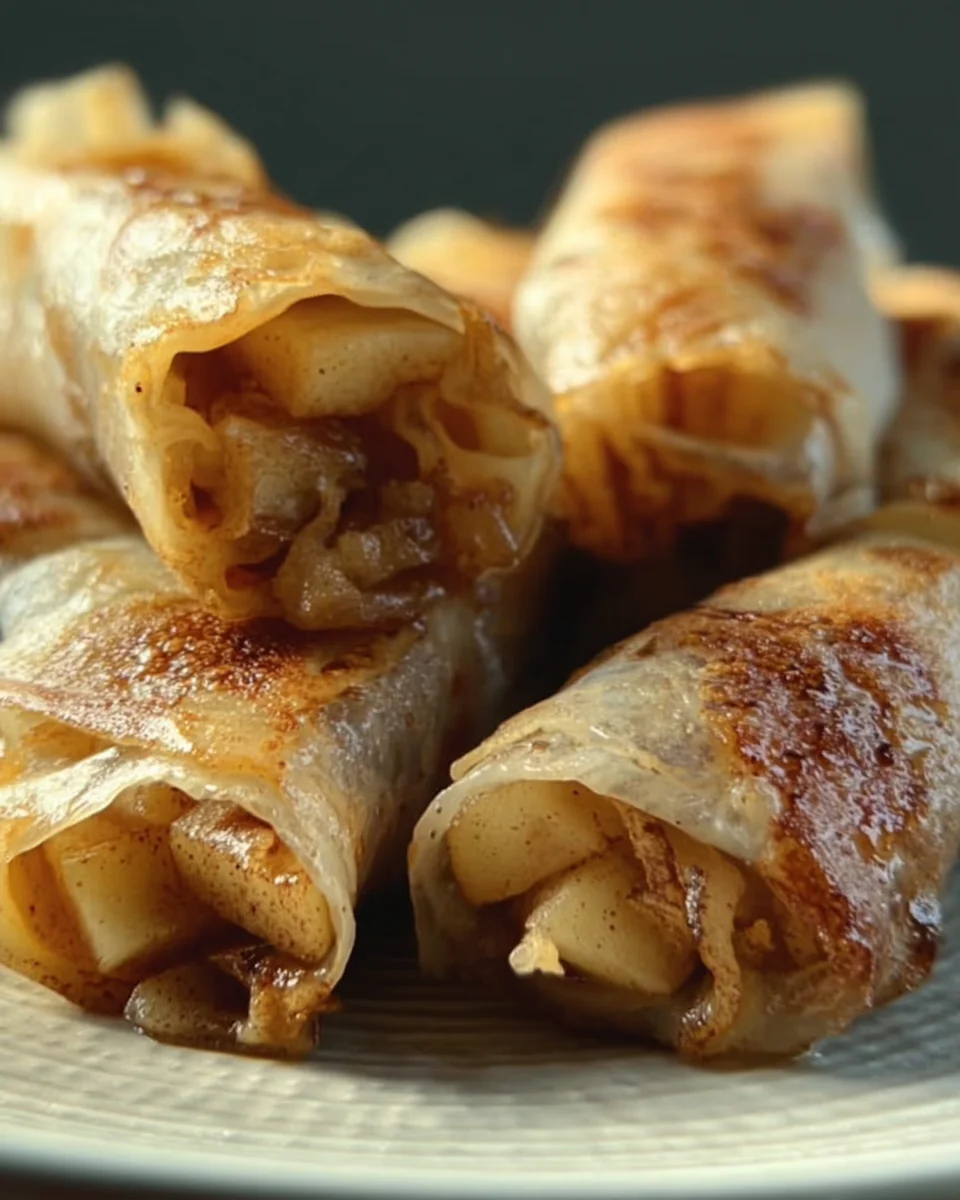
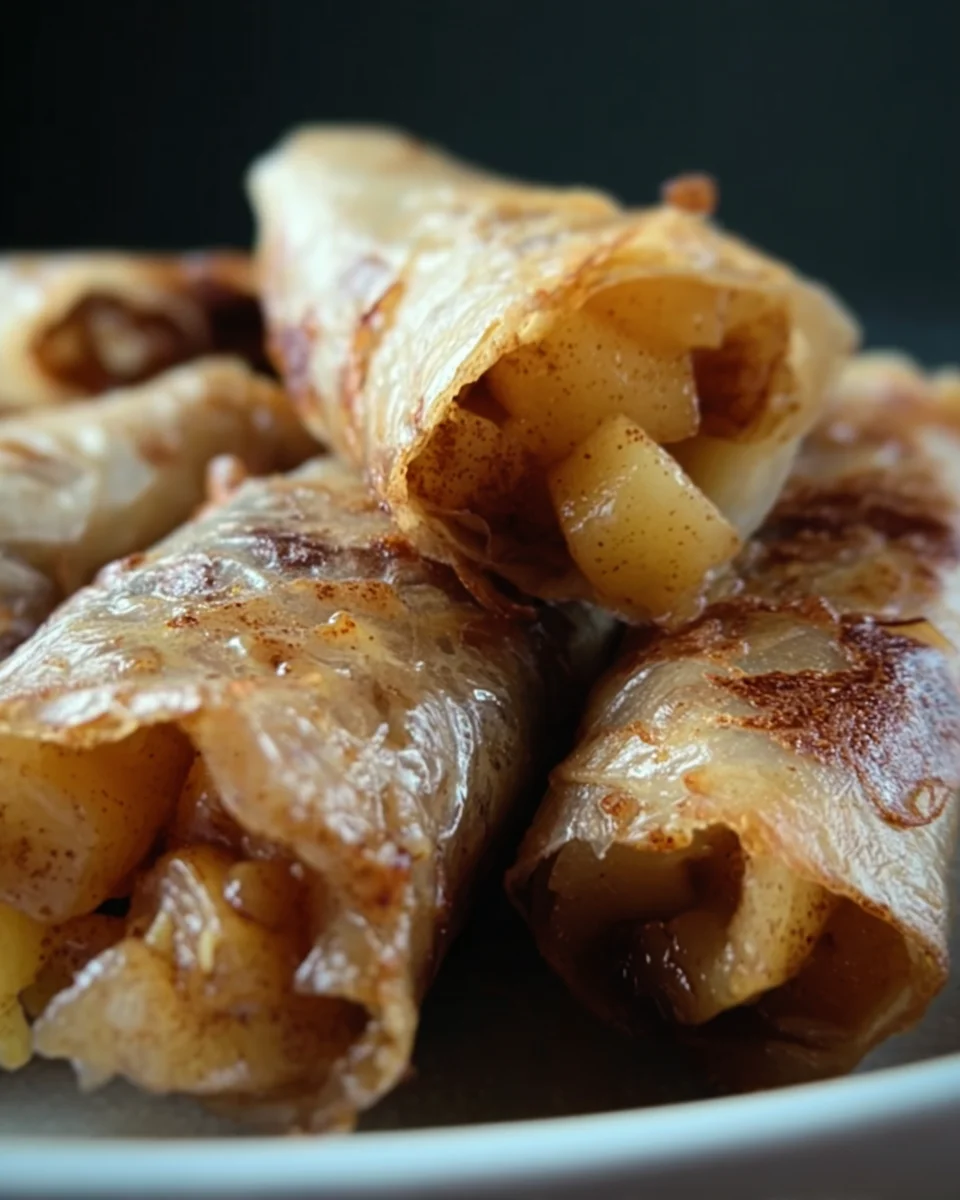
Baked Apple Pie Rice Paper Rolls are a delightful twist on a classic dessert. These easy-to-make rolls combine the comforting flavors of apple pie with a light, crispy rice paper shell. Perfect for gatherings or as a sweet treat after dinner, they are also gluten-free and vegan, making them suitable for various dietary preferences. Enjoying these baked delights is not just about taste; it’s about indulging in something unique that satisfies your sweet tooth without the guilt!
Why You’ll Love This Recipe
- Quick and Easy: With just five simple ingredients, you can whip up these delicious rolls in no time.
- Healthy Alternative: These rolls provide a lighter take on traditional apple pie without sacrificing flavor.
- Versatile Dessert: Great for any occasion—whether it’s a family gathering or a cozy night in.
- Customizable Fillings: Feel free to mix in nuts, raisins, or other fruits to suit your taste.
- Gluten-Free & Vegan: Enjoy guilt-free indulgence that accommodates most dietary needs.
Tools and Preparation
To make Baked Apple Pie Rice Paper Rolls successfully, you’ll need some essential tools. Gathering your equipment ahead of time will streamline your cooking process.
Essential Tools and Equipment
- Mixing bowl
- Baking pan
- Parchment paper
- Pastry brush
- Knife
Importance of Each Tool
- Mixing bowl: A good mixing bowl is vital for combining the apple filling ingredients easily.
- Baking pan: Choose a sturdy baking pan to ensure even cooking and prevent sticking.
- Parchment paper: This helps to keep the rolls from sticking to the pan while promoting easy cleanup.
Ingredients
These 5 Ingredient Gluten Free & Vegan Baked Apple Pie Rice Paper Rolls Are an Easy Dessert that’s so Satisfying.
For the Filling
- 4-6 Apples
- 1/3 Cup Brown Sugar
- 1 Tsp Cinnamon
For the Wrapping
- Part of a Package of Rice Paper
- 2 Tbsp Cooking Oil
How to Make Baked Apple Pie Rice Paper Rolls
Step 1: Preheat the Oven
Preheat your oven to 450°F (232°C) to prepare for baking these tasty treats.
Step 2: Prepare the Apples
- Peel and slice the apples into thin pieces.
- In a large mixing bowl, combine the sliced apples with brown sugar and cinnamon until well mixed.
Step 3: Soak the Rice Paper
- Fill a large mixing bowl about 1/4 full with water.
- Take one sheet of rice paper and immerse it in water.
- Soak just until it’s soft enough to work with, being careful not to over-soak.
Step 4: Assemble the Rolls
- Place the softened rice paper on a clean counter.
- Add 1-2 tablespoons of the apple mixture into the center of each rice paper sheet.
- Fold the bottom up first, then fold in the sides, and fold down the top last.
Step 5: Prepare for Baking
Repeat this process until all apple filling is used up.
1. Place each roll on a parchment-lined or well-oiled baking pan.
2. Brush both sides of each roll with cooking oil for added crispness.
Step 6: Bake
- Bake for 25-30 minutes, turning them occasionally throughout cooking for even browning.
Recipe Note:
Be cautious not to get the rice paper too wet or soggy; it should retain some stiffness. If necessary, use a wet paper towel to soften instead of soaking in water. Handle carefully to avoid tearing; any holes will let sugar leak out during baking.
Enjoy your delicious Baked Apple Pie Rice Paper Rolls!
How to Serve Baked Apple Pie Rice Paper Rolls
These delicious Baked Apple Pie Rice Paper Rolls can be served in many delightful ways. Whether you’re hosting a dinner party or enjoying a cozy night in, these rolls make for a perfect dessert option that everyone will love.
Pair with Ice Cream
- Vanilla Ice Cream: A classic pairing that balances the warm flavors of the pie rolls.
- Cinnamon Ice Cream: Adds an extra layer of spice that complements the cinnamon in the rolls.
Drizzle with Sauce
- Caramel Sauce: A rich and sweet addition that enhances the apple flavor.
- Maple Syrup: Offers a natural sweetness and pairs perfectly with the warm filling.
Add Fresh Fruits
- Sliced Strawberries: For a refreshing contrast to the warm, baked rolls.
- Raspberries: Their tartness provides a nice balance to the sweetness of the rolls.
Serve with Whipped Cream
- Homemade Whipped Cream: Light and fluffy, it’s a wonderful topping for these dessert rolls.
Create a Dessert Platter
- Assorted Fruits and Dips: Arrange your rice paper rolls alongside fresh fruits and dips for variety.
How to Perfect Baked Apple Pie Rice Paper Rolls
To ensure your Baked Apple Pie Rice Paper Rolls turn out perfectly, consider these helpful tips.
- Mind the Soaking Time: Soak rice paper just until pliable; too much water makes it soggy.
- Use Fresh Apples: Crisp apples add better texture and flavor to your filling.
- Avoid Overstuffing: Keep filling modest to prevent tearing during rolling.
- Brush Generously with Oil: Helps achieve that golden brown color while baking.
- Monitor Baking Time: Check frequently to avoid overbaking; golden brown is your target.
- Experiment with Spices: Try adding nutmeg or cardamom for unique flavor twists.
Best Side Dishes for Baked Apple Pie Rice Paper Rolls
Baked Apple Pie Rice Paper Rolls can be complemented by several side dishes. Here are some great options to serve alongside them.
- Fresh Fruit Salad: A mix of seasonal fruits adds brightness and freshness.
- Crispy Salad Greens: A light salad balances richness with crunch.
- Yogurt Parfait: Layered yogurt and granola provide creaminess and texture contrast.
- Cheese Platter: Include assorted cheeses for savory bites that pair well with sweetness.
- Chocolate Fondue: Perfect for dipping extra fruit or leftover rice paper rolls.
- Nut Mix: Adds crunch and nutrition, making it a satisfying snack on the side.
Common Mistakes to Avoid
When making Baked Apple Pie Rice Paper Rolls, it’s easy to make a few common errors. Here are some mistakes to watch out for:
- Over-soaking the rice paper: Soaking rice paper too long can make it soggy and difficult to handle. Only soak until it’s just soft enough to fold.
- Not seasoning the apple mixture: Skipping cinnamon or brown sugar can lead to bland rolls. Always mix in these ingredients to enhance flavor.
- Skipping the oil brushing step: Not brushing oil on the rolls can result in dry edges. Make sure to brush both sides for a crispy finish.
- Filling too much: Overfilling the rice paper can lead to tearing and leaks. Use 1-2 tablespoons of filling per roll for best results.
- Ignoring oven temperature: Baking at the wrong temperature can burn or undercook your rolls. Always preheat your oven properly to ensure even cooking.
Storage & Reheating Instructions
Refrigerator Storage
- Store in an airtight container for up to 3 days.
- Place parchment paper between layers to prevent sticking.
Freezing Baked Apple Pie Rice Paper Rolls
- Freeze rolls on a baking sheet before transferring them to a freezer-safe bag.
- They can be frozen for up to 2 months.
Reheating Baked Apple Pie Rice Paper Rolls
- Oven: Preheat your oven to 350°F and bake for about 10-12 minutes until heated through.
- Microwave: Heat on medium power for about 30 seconds but may lose crispiness.
- Stovetop: Heat in a pan over medium heat for a few minutes until warm and crispy.
Frequently Asked Questions
Here are some common questions about Baked Apple Pie Rice Paper Rolls:
How do I know when my rice paper is ready?
The rice paper should be soft but not overly wet. It should still have some stiffness when you start rolling.
Can I use other fruits for this recipe?
Yes! Feel free to experiment with pears, berries, or peaches for a different flavor profile.
Are Baked Apple Pie Rice Paper Rolls gluten-free?
Absolutely! This recipe is gluten-free as it uses rice paper and does not contain any wheat products.
What can I serve with these rolls?
These rolls pair wonderfully with vanilla ice cream or a drizzle of caramel sauce for added sweetness.
Final Thoughts
Baked Apple Pie Rice Paper Rolls are a delightful dessert that combines the classic flavors of apple pie in a unique way. They’re gluten-free and vegan, making them suitable for various dietary needs. You can customize them by adding nuts or other spices according to your preference. Enjoy this easy-to-make treat anytime you crave something sweet!
Baked Apple Pie Rice Paper Rolls

Baked Apple Pie Rice Paper Rolls offer a mouthwatering twist on traditional apple pie, combining the familiar flavors of cinnamon-spiced apples with a light and crispy rice paper shell. These delightful rolls are not only gluten-free and vegan but also incredibly easy to prepare, making them a perfect dessert for any occasion. With just five simple ingredients, you can create a sweet treat that satisfies cravings without the guilt. Whether enjoyed warm with a scoop of ice cream or drizzled with caramel sauce, these baked delights are sure to impress friends and family alike.
- Prep Time: 15 minutes
- Cook Time: 30 minutes
- Total Time: 45 minutes
- Yield: Makes approximately 8 rolls
- Category: Dessert
- Method: Baking
- Cuisine: Vegan
Ingredients
- 4-6 apples
- 1/3 cup brown sugar
- 1 tsp cinnamon
- Rice paper (part of a package)
- 2 tbsp cooking oil
Instructions
- Preheat the oven to 450°F (232°C).
- Peel and slice apples into thin pieces; mix them with brown sugar and cinnamon in a bowl.
- Soak rice paper in water until pliable, then place it on a clean surface.
- Add 1-2 tablespoons of apple filling to each rice paper sheet, fold it carefully, and place on a parchment-lined baking pan.
- Brush both sides with cooking oil and bake for 25-30 minutes, turning occasionally until golden brown.
Nutrition
- Serving Size: 1 serving
- Calories: 150
- Sugar: 10g
- Sodium: 10mg
- Fat: 5g
- Saturated Fat: 1g
- Unsaturated Fat: 4g
- Trans Fat: 0g
- Carbohydrates: 27g
- Fiber: 2g
- Protein: 1g
- Cholesterol: 0mg