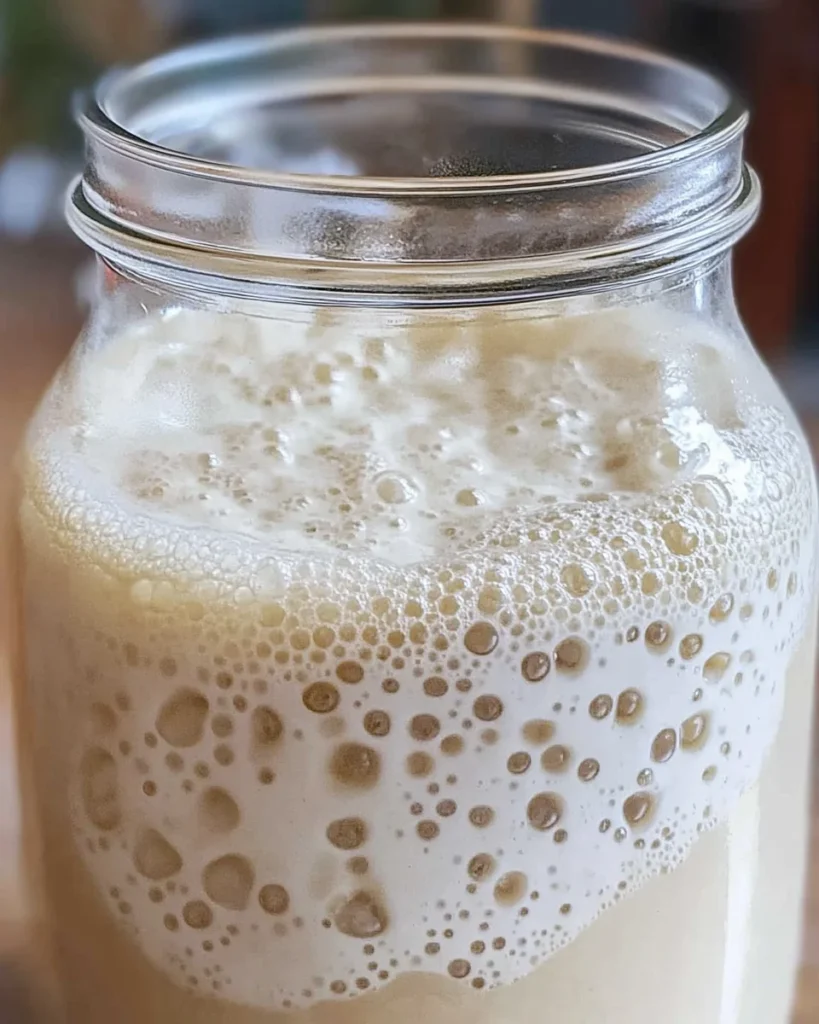
With just a few simple ingredients, making your own Sourdough Starter is an exciting way to dive into the world of baking. This homemade starter enhances the flavor and texture of your bread, making it perfect for various occasions, from casual weekend baking to special holidays. By using only flour and water, you can create a lively culture that transforms your baking experience.
Why You’ll Love This Recipe
- Easy to Make: The process requires minimal ingredients and steps, perfect for beginners.
- Flavorful Bread: Homemade sourdough starter adds a rich, tangy flavor to your baked goods.
- Versatile Use: Use your starter for various recipes, not just bread—think pancakes and waffles!
- Cost-Effective: Save money by creating your own starter instead of buying commercial products.
- Fun Experimentation: Watch your starter grow and bubble, making it a delightful science project in the kitchen.
Tools and Preparation
Before diving into making your sourdough starter, gather the necessary tools. Having everything ready will streamline the process.
Essential Tools and Equipment
- A glass jar or bowl (about 32 ounces)
- Paper towel
- Rubber band
Importance of Each Tool
- Glass jar or bowl: This is where you’ll cultivate your sourdough starter. Glass allows you to see the growth.
- Paper towel: It covers the jar while allowing airflow, which is essential for fermentation.
- Rubber band: Use this to secure the paper towel over the opening of the jar.
Ingredients
Making a delicious Sourdough Starter requires just a few simple ingredients:
For the Sourdough Starter
- ½ cup flour (whole wheat or unbleached all-purpose)
- ¼-⅓ cup water (75°F is ideal)
How to Make Sourdough Starter
Step 1: Combine Ingredients
Start by measuring out your ingredients. In your glass jar or bowl, combine:
1. ½ cup flour
2. ¼-⅓ cup water
Mix until well combined; aim for a thick but pourable consistency.
Step 2: Cover and Store
Cover the jar with a paper towel secured by a rubber band. This allows air in while keeping dust out. Place it in a warm spot (around 75°F) for optimal fermentation.
Step 3: Feed Your Starter
After 24 hours, check on your starter. You’ll want to feed it daily:
1. Discard half of your starter.
2. Add another ½ cup flour and ¼-⅓ cup water. Mix well.
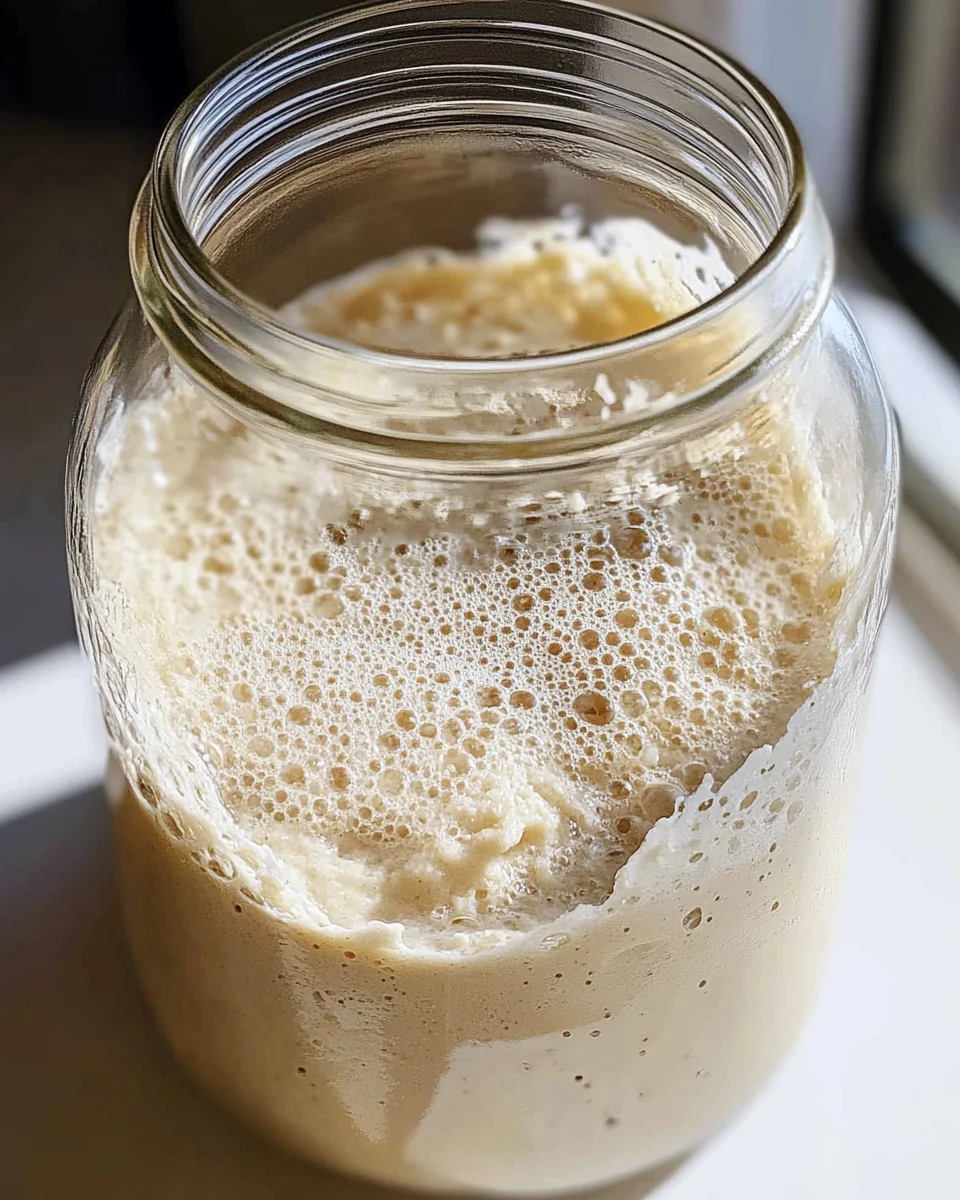
3. Repeat this process daily until bubbles form and it doubles in size within 4-6 hours.
Step 4: Maintain Your Starter
Once established, you can maintain your starter by feeding it once a week if kept in the fridge or daily if left at room temperature.
Enjoy creating delicious recipes with your homemade sourdough starter!
How to Serve Sourdough Starter
Sourdough starter can be the foundation for many delicious dishes. Here are some delightful ways to enjoy it once it’s ready.
Use in Bread Recipes
- Classic Sourdough Bread: Leverage your starter to make that tangy, crusty loaf everyone loves.
- Sourdough Pancakes: Transform your starter into fluffy pancakes for a hearty breakfast treat.
- Sourdough Pizza Crust: Create a unique pizza base with the added flavor of sourdough.
Add to Baked Goods
- Sourdough Muffins: Incorporate your starter into muffin batter for a moist and flavorful snack.
- Sourdough Biscuits: Make buttery biscuits with a hint of sourness, perfect for brunch.
- Sourdough Banana Bread: Enhance traditional banana bread with the depth of flavor from your starter.
Pairing Suggestions
- Cheese Board: Serve sourdough bread made from your starter alongside assorted cheeses and meats.
- Dips and Spreads: Use sourdough as a base for dips like hummus or spinach artichoke.
How to Perfect Sourdough Starter
Creating the perfect sourdough starter takes patience and care. Here are some tips to ensure your starter thrives.
- Consistent Feeding: Regularly feed your starter with flour and water to keep it active.
- Optimal Temperature: Maintain around 75°F for ideal fermentation conditions.
- Right Flour Choice: Use whole wheat or unbleached all-purpose flour for best results.
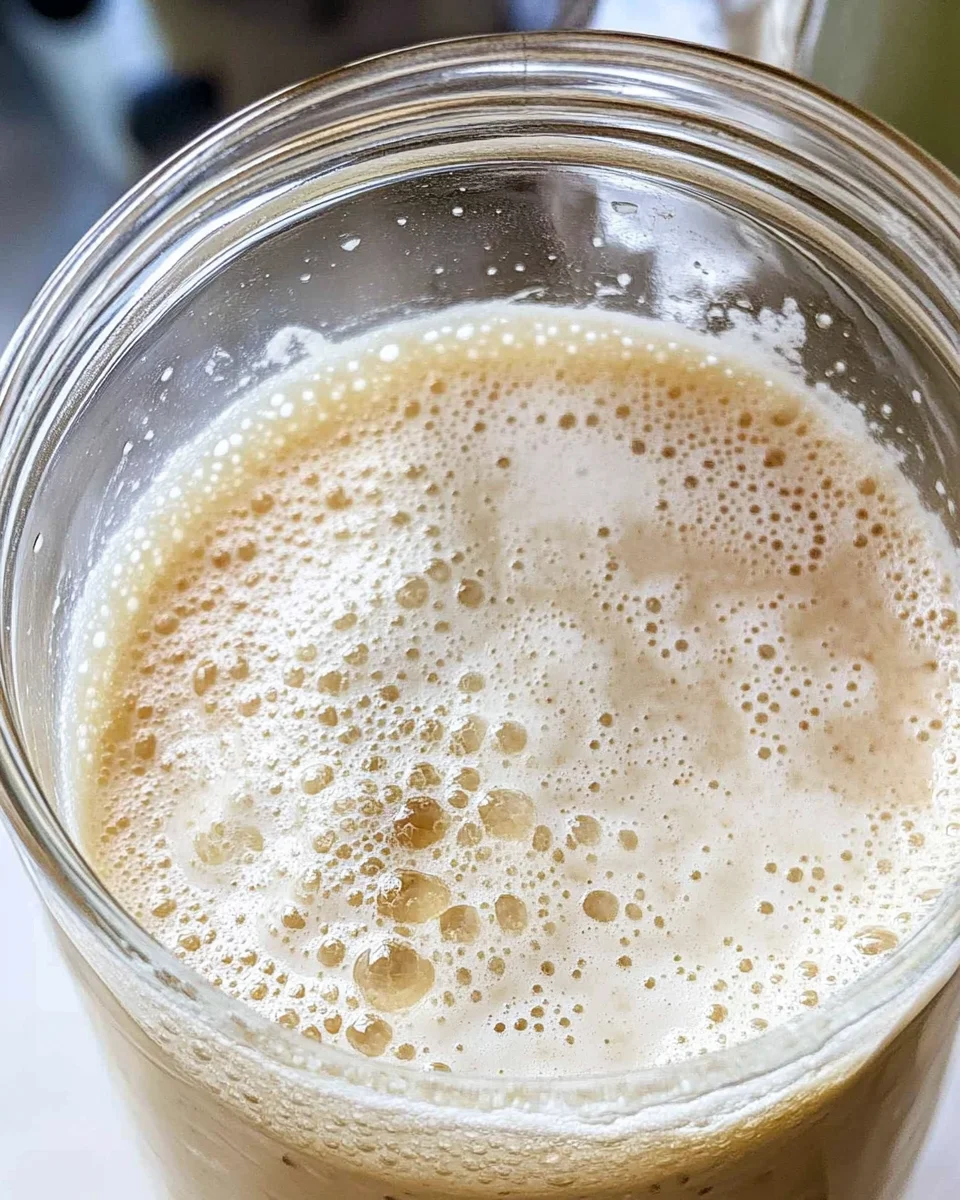
- Watch for Bubbles: Look for bubbles in your starter as a sign it’s healthy and active.
Best Side Dishes for Sourdough Starter
When using sourdough starter, pair it with complementary side dishes that enhance its flavors. Here are some great options:
- Garlic Roasted Potatoes: Crispy potatoes tossed in garlic and herbs make a perfect side.
- Herbed Salad: A fresh salad with mixed greens and herbs balances the richness of sourdough.
- Roasted Vegetables: Seasonal veggies roasted until caramelized complement any sourdough dish.
- Creamy Coleslaw: A tangy coleslaw adds crunch and zest next to your sourdough creations.
- Buttery Corn on the Cob: Sweet corn brushed with butter harmonizes well with sourdough bread.
- Grilled Asparagus: Lightly grilled asparagus brings out earthy flavors that pair nicely with sourdough.
Common Mistakes to Avoid
Creating your own sourdough starter is exciting, but there are common pitfalls to watch out for. Here are some mistakes to avoid:
- Ignoring the temperature: Temperatures too high or low can affect fermentation. Keep your water around 75°F for best results.
- Using bleached flour: This type of flour can hinder the growth of yeast. Opt for whole wheat or unbleached all-purpose flour instead.
- Not covering the jar properly: An uncovered jar can lead to contamination. Use a paper towel secured with a rubber band to allow airflow while keeping out debris.
- Rushing the feeding process: Give your sourdough starter time to develop. Be patient and feed it regularly according to the instructions.
- Neglecting to observe bubbles: Bubbles indicate active fermentation. If you don’t see any after a few days, you may need to adjust your feeding routine.
Storage & Reheating Instructions
Refrigerator Storage
- Store your sourdough starter in a clean glass jar with a lid or covered with a paper towel.
- It can last up to 2 weeks without feeding if kept in the fridge.
Freezing Sourdough Starter
- Portion your starter into smaller containers before freezing for easier use later.
- It can be stored in the freezer for up to 3 months.
Reheating Sourdough Starter
- Oven: Preheat it to 200°F, then place your starter inside for a few minutes.
- Microwave: Heat on low power for short bursts, checking frequently.
- Stovetop: Warm gently in a pan on low heat, stirring constantly.
Frequently Asked Questions
Here are some common questions about making and using sourdough starter:
What is Sourdough Starter?
Sourdough starter is a mixture of flour and water that captures wild yeast and bacteria from the environment, allowing bread to rise naturally.
How do I know if my Sourdough Starter is ready?
Your sourdough starter is ready when it doubles in size within 4-6 hours after feeding and has bubbles throughout.
Can I use all-purpose flour for my Sourdough Starter?
Yes, you can use unbleached all-purpose flour, but whole wheat flour often yields better results due to its higher nutrient content.
How often should I feed my Sourdough Starter?
Feed your sourdough starter at least once every week if stored in the refrigerator; daily when kept at room temperature.
Final Thoughts
Making your own sourdough starter is not only simple but also rewarding. This versatile base can elevate any homemade bread recipe, offering endless opportunities for customization. Experiment with different flours or hydration levels to create the perfect starter that suits your taste!
Sourdough Starter
Creating your own Sourdough Starter is a rewarding and straightforward way to elevate your baking skills. With just flour and water, you can cultivate a lively culture that enhances the flavor and texture of your bread, making it ideal for everything from casual weekend baking to special celebrations. This homemade starter not only saves you money but also offers the joy of watching it grow and bubble, turning every baking session into a delightful experience.
- Prep Time: 10 minutes
- Cook Time: N/A
- Total Time: 0 hours
- Yield: Makes approximately 1 cup of sourdough starter
- Category: Baking
- Method: Cultivating
- Cuisine: American
Ingredients
- ½ cup flour (whole wheat or unbleached all-purpose)
- ¼-⅓ cup water (ideally at 75°F)
Instructions
- In a clean glass jar or bowl, combine ½ cup flour with ¼-⅓ cup water. Mix until smooth.
- Cover the jar with a paper towel secured by a rubber band to allow airflow.
- Store in a warm spot (around 75°F) for optimal fermentation.
- After 24 hours, discard half of the starter and feed it with another ½ cup flour and ¼-⅓ cup water. Mix well.
- Repeat daily until bubbles appear and it doubles in size within 4-6 hours.
Nutrition
- Serving Size: 1 tablespoon (15g)
- Calories: 55
- Sugar: 0g
- Sodium: 0mg
- Fat: 0g
- Saturated Fat: 0g
- Unsaturated Fat: 0g
- Trans Fat: 0g
- Carbohydrates: 11g
- Fiber: 0g
- Protein: 2g
- Cholesterol: 0mg